When setting up a WordPress website for a client, it’s the little touches that make a difference. One easy change that adds a personal touch is swapping out the standard WordPress logo on the login page for the client’s own logo. By using the logo they’ve already added in the WordPress Customizer, you can give their login page a familiar feel. This guide will help you do just that!
Always back up your theme before making any changes. Directly editing theme files can be risky, and a minor oversight might cause issues with your website’s functionality.
We are going to add the following code snippet in our active theme’s functions.php file.
Accessing the theme’s functions.php file
Navigate to your WordPress Dashboard.
Go to Appearance > Theme Editor.
On the right side, find and click on the functions.php file. This is where you’ll be adding the provided code.
Add the following code snippet.
function customizer_login_logo() { if ( ! has_custom_logo() ) { return; }
If you don’t see the Theme Editor option under Appearance it means that you are using a Full Site Editing theme. We will cover this scenario in an upcoming tutorial.
And that’s it!
Now every time you change your website’s logo through Appearance > Customize > Site Identity the logo on your WordPress login page will also be updated.
Inside every WordPress site, there’s a special file that can make a big difference: the wp-config.php file. Many people know the basics of this file, but there’s a lot more to it. In this guide, we’ll share some simple and useful tricks that can help your site work better and more safely. If you’re curious about getting the most out of WordPress, keep reading!
Are you looking for a way to make your website more engaging? Video popups are a popular feature among website owners that can help increase user engagement.
If you have a WordPress site, adding a video popup is a simple process that can make a big impact. Whether you want to highlight a specific video, promote your channel, or share your latest content, a video popup is an effective way to do so.
In this article, we will walk you through the step-by-step process of adding a video popup to your WordPress site. Whether you’re a beginner or an experienced user, our guide will help you create a professional and captivating video popup that will keep your audience engaged.
Free shipping is a great bonus for any online shopper and greatly helps the customer commit with their purchase. WooCommerce offers free shipping as its available shipping options, but it will continue to display all available shipping methods available to the client regardless if they qualify for free shipping. Since it is highly unlikely that a customer will opt to pay for shipping when they can have it for free, we’ll go ahead and check out a way to hide other shipping methods when a customer qualifies for free shipping.
Up-sell products are displayed in the single product view to attract the customer’s attention towards products that might pair well with the one they are currently looking at. However many clients tend to gloss over that section. In an effort to increase the exposure of our customers to up-sell products we will be displaying them on the order thank you page as well.
In today’s article we’re going to make some minor customizations to the checkout page in order to make it more friendly to both our customers and ourselves by eliminating extraneous information from the checkout process.
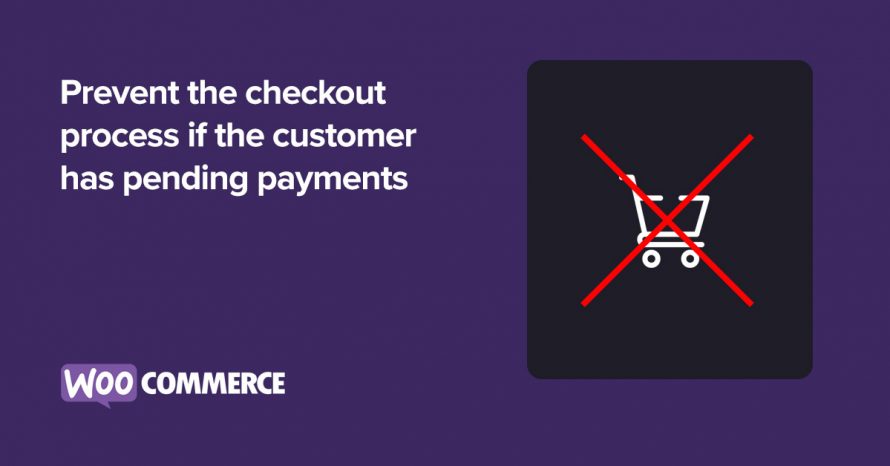
Sometimes customers might leave some orders unpaid, perhaps from their card being declined, payment processing errors and many other reasons. You have the ability as a WooCommerce based store owner to prevent them from placing additional orders until they settle their outstanding ones. This can prevent your order queue from being cluttered and minimize illegitimate orders.
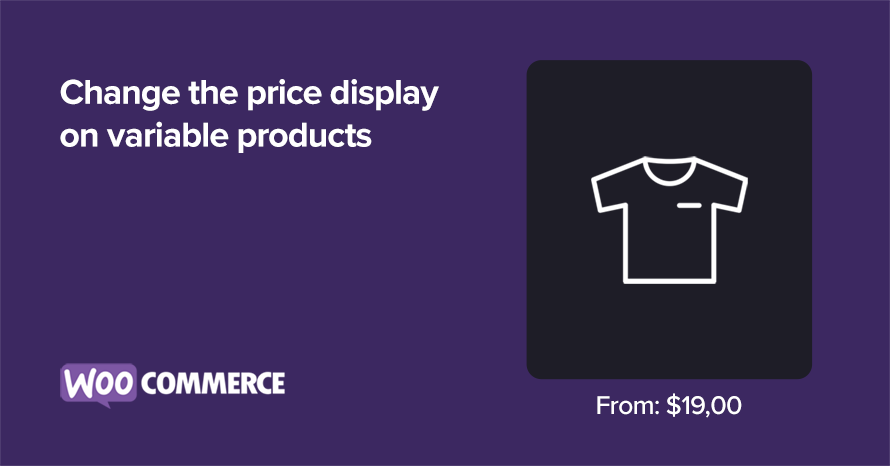
The price display on WooCommerce variable products is by default a range of prices, from the price of the lowest variation to the highest one. In some cases it might be beneficial to the store to not display the higher end of the range because that might deter some customers from visiting the product page. To negate such a possibility we’re going to change the way the price is displayed on variable products.
In today’s article we will add a small banner on the single product page which will urge our customers to complete their orders as quickly as possible to take advantage of same day shipping.
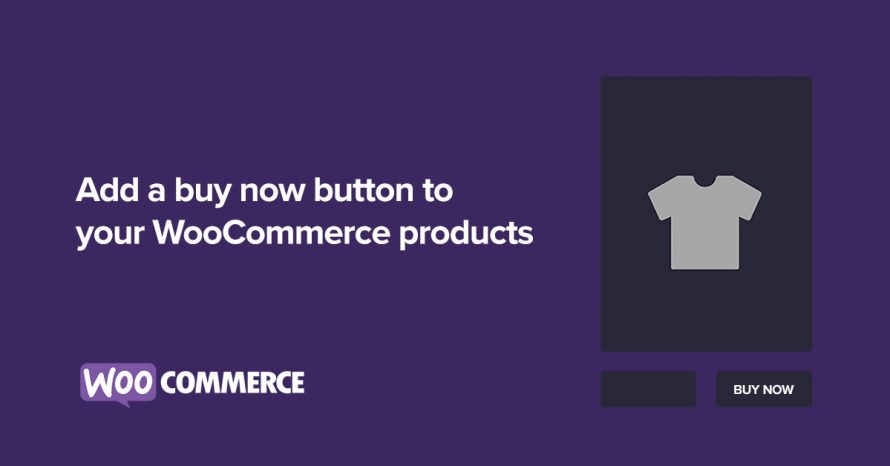
If your WooCommerce powered online store sells products that are often bought individually you might consider adding a buy now button which will add the single product to the cart and redirects the customer to the checkout page without them ever having to see the cart page, making their shopping experience more streamlined. In this small guide we’re going to take a look at how we can build such a button.