How to Install Pyvista in Conda?
Last Updated :
23 Jul, 2025
PyVista library is compatible with many 3D visualization and analysis tasks, making it a powerful tool for scientific computing and visualization. It builds on top of VTK (Visualization Toolkit) and provides a user-friendly API for creating and manipulating 3D data. In this article, we will explore the detailed steps to install Pyvista in Conda.
Setting Up Conda
Before installing PyVista, ensure you have Conda installed on your system. Conda is a powerful package manager and environment management system that simplifies the installation and management of software packages and dependencies.
Note: You can follow the detailed installation of Conda by following the article: Link
Installing Pyvista using Conda
Once you are done setting up Conda on your system, follow these steps to install Pyvista.
Open Conda Terminal
Click on the Start menu, search for Anaconda Prompt, and open it. This terminal allows you to manage Conda environments and packages.
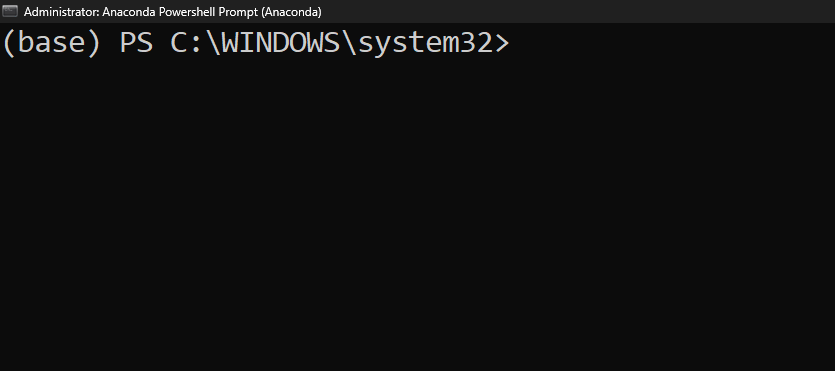 Open Conda Terminal
Create a New Conda Environment
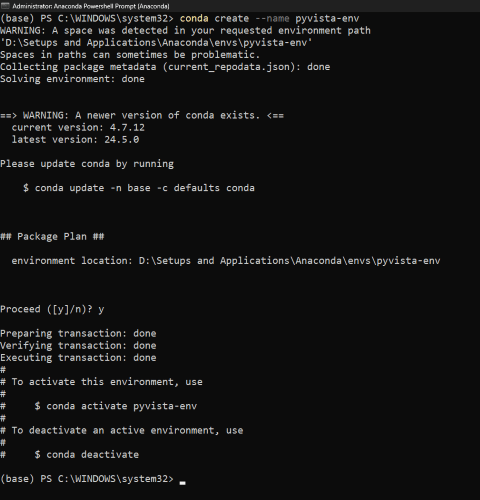
In the Anaconda Prompt, type the following command and press Enter. This command creates a new Conda environment named pyvista-env for isolating dependencies.
conda create --name pyvista-env
 Creating Conda Environment
Activate the Newly Created Environment
Activating the environment ensures that packages installed are isolated within this environment.
conda activate pyvista-env
 Activate Conda Environment
Install PyVista
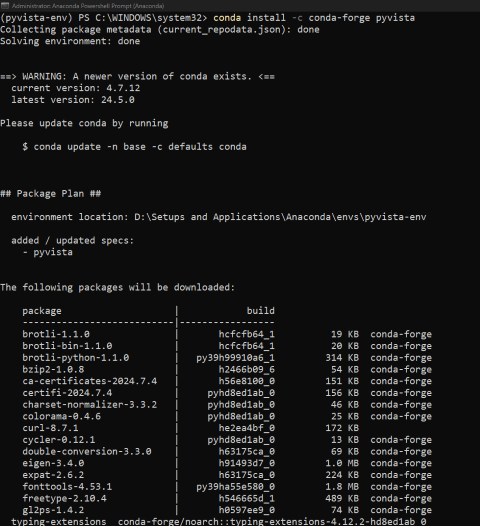
With the environment activated, type this command and press Enter. This installs PyVista and its dependencies from the conda-forge channel.
conda install -c conda-forge pyvista
 Install Pyvista using Conda
Verifying PyVista Installation
To verify that PyVista has been installed correctly using Conda, you can check the package information directly in the Conda environment.
To get detailed information about the PyVista package, use the following command. This will display details such as the version number and the build string, confirming that the package is present and correctly installed.
conda list pyvista
 Pyvista Installation Verification
Creating and Plotting a 3D Sphere
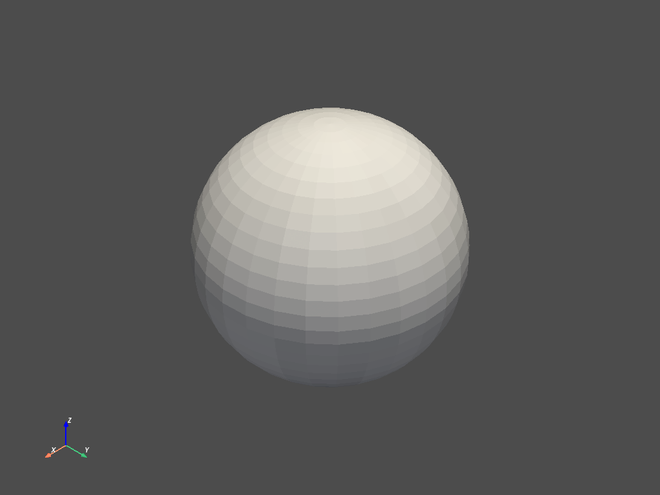
In this example, we are using PyVista to create a simple 3D sphere mesh. We then use the plot method to visualize the sphere in a 3D window.
Python
import pyvista as pv
sphere = pv.Sphere()
# Plot the sphere
sphere.plot()
Output:
Conclusion
In conclusion, installing PyVista in a Conda environment is simple and involves creating a new environment, activating it, and installing PyVista using the conda-forge channel. By following these steps, you can harness the powerful capabilities of PyVista for 3D visualization and analysis tasks.