Automating Jira Ticket Creation Using Python and Jira REST API
Last Updated :
15 Jul, 2025
In modern software development, managing issues and bugs is a key part of maintaining the quality and efficiency of the development process. Jira, developed by Atlassian, is one of the most popular tools for issue tracking, project management, and agile development. In this article, we will walk you through a Python script that automatically creates Jira tickets via the Jira REST API. This can be particularly useful for automating the process of reporting incidents or tasks directly into Jira from your application.
Prerequisites
Before diving into the code, there are a few things you’ll need to set up:
- Jira Account: Ensure you have an active Jira account with access to a project and API tokens enabled.
- Python: This script is written in Python, so you'll need Python installed on your system.
- Jira API Token: You will need an API token to authenticate requests. You can generate one from your Atlassian account settings.
- Environment Variables: The script will load configuration values like your Jira email, API token, and project key from environment variables stored in a
.env file. - Python Libraries: The script uses several Python libraries, which can be installed via
pip:requests for making HTTP requests.python-dotenv for loading environment variables from the .env file.
bash
pip install requests python-dotenv
Setting Up Your .env File
Before running the script, you’ll need to set up a .env file containing your Jira credentials. Here’s an example .env file:
.env
JIRA_EMAIL=your-email@example.com
JIRA_API_TOKEN=your-jira-api-token

JIRA_PROJECT_KEY=YOUR_PROJECT_KEY
Replace your-email@example.com, your-jira-api-token, and YOUR_PROJECT_KEY with your actual Jira email, API token, and project key.
Complete Code
Python
#Driver Code Starts
from dotenv import load_dotenv
import os
load_dotenv()
# Jira configuration from environment variables
JIRA_URL = "https://your-domain.atlassian.net/rest/api/3/issue"
EMAIL = os.getenv("JIRA_EMAIL")
API_TOKEN = os.getenv("JIRA_API_TOKEN")
PROJECT_KEY = os.getenv("JIRA_PROJECT_KEY")
# Headers for the Jira API request
HEADERS = {
    "Accept": "application/json",
    "Content-Type": "application/json"
}
#Driver Code Ends

def create_issue_payload(summary, description, issue_type="Task"):
    """
    Generate the JSON payload for creating a Jira ticket with description in ADF
    """
    return json.dumps({
        "fields": {
            "project": {
                "key": PROJECT_KEY
            },
            "summary": summary,
            "description": {
                "type": "doc",
                "version": 1,
                "content": [
                    {
                        "type": "paragraph",
                        "content": [
                            {
                                "type": "text",
                                "text": description
                            }
                        ]
                    }
                ]
            },
            "issuetype": {
                "name": issue_type  # e.g., Bug, Task, Story
            }
        }
    })
def create_jira_ticket(summary, description):
    """
    Create a Jira ticket using the Jira REST API
    """
    payload = create_issue_payload(summary, description)
    auth = HTTPBasicAuth(EMAIL, API_TOKEN)
    # Send the POST request to the Jira API
    response = requests.post(
        JIRA_URL,
        headers=HEADERS,
        data=payload,
        auth=auth
    )
    if response.status_code == 201:
        print("✅ Jira ticket created successfully!")
        print("Ticket URL:", response.json()['self'])
    else:
        print("❌ Failed to create Jira ticket")
        print("Status Code:", response.status_code)
        print("Response:", response.text)

#Driver Code Starts
if __name__ == "__main__":
    # You can change the ticket details as needed
    summary = "Server CPU Usage Exceeded Threshold"
    description = "The CPU usage on production server exceeded 90%. Please investigate."

    create_jira_ticket(summary, description)
#Driver Code Ends
Breaking Down the Code
Let’s dive into the code and explain what each part does.
1. Loading Environment Variables
We start by loading the environment variables from the .env file. This ensures that your sensitive data like email and API token is not hardcoded into your script. Instead, it's securely loaded from the environment.
Jira’s REST API requires specific headers for the request, so we define those in HEADERS. These headers specify that we want the response in JSON format and that we will be sending a JSON body in our POST request.
3. Function to Generate the Payload
In order to create a ticket, we need to send a JSON payload with the details of the ticket, including its summary, description, issue type, and the project key. create_issue_payload is the function that generates this payload.
This function takes in the summary, description, and issue_type (which defaults to "Task") and formats them into a JSON object that Jira can understand.
The payload includes:
- project: The Jira project key to which the issue will be added.
- summary: A short description or title for the issue.
- description: A more detailed explanation of the issue in Atlassian Document Format (ADF), which allows richer content like paragraphs.
- issuetype: The type of the issue (e.g., Bug, Task, Story).
4. Making the API Request
Once the payload is ready, we use the requests.post() method to send the data to Jira. Here’s what happens in create_jira_ticket function:
- Authentication: We authenticate the request using
HTTPBasicAuth with your Jira email and API token. - Sending the Request: The POST request is sent to the Jira API with the payload and headers.
- Handling the Response: If the request is successful (status code 201), we print a success message with the URL of the newly created ticket. Otherwise, we print the error status and response details for troubleshooting.
5. Running the Script
Finally, in the main function, we define the ticket details (summary and description) and call the create_jira_ticket() function to create the issue. This part of the script allows you to easily change the ticket details and create a new Jira issue directly from the command line.
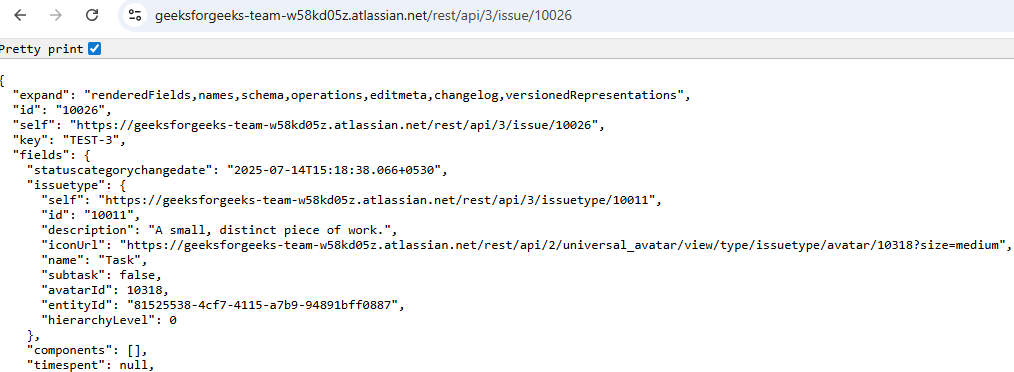
Output