You signed in with another tab or window. Reload to refresh your session.You signed out in another tab or window. Reload to refresh your session.You switched accounts on another tab or window. Reload to refresh your session.Dismiss alert
Java Runtime Engine (JRE) version 6.x or newer to run dynamodb locally.
Features
Support serverless v1.26.0
Support offline development with dynamodb, lambda and API Gateway
Support local dynamodb seeds/migrations
Build automation in client and server to ease local development
Deploy to multiple API Services
Use of Environment variables
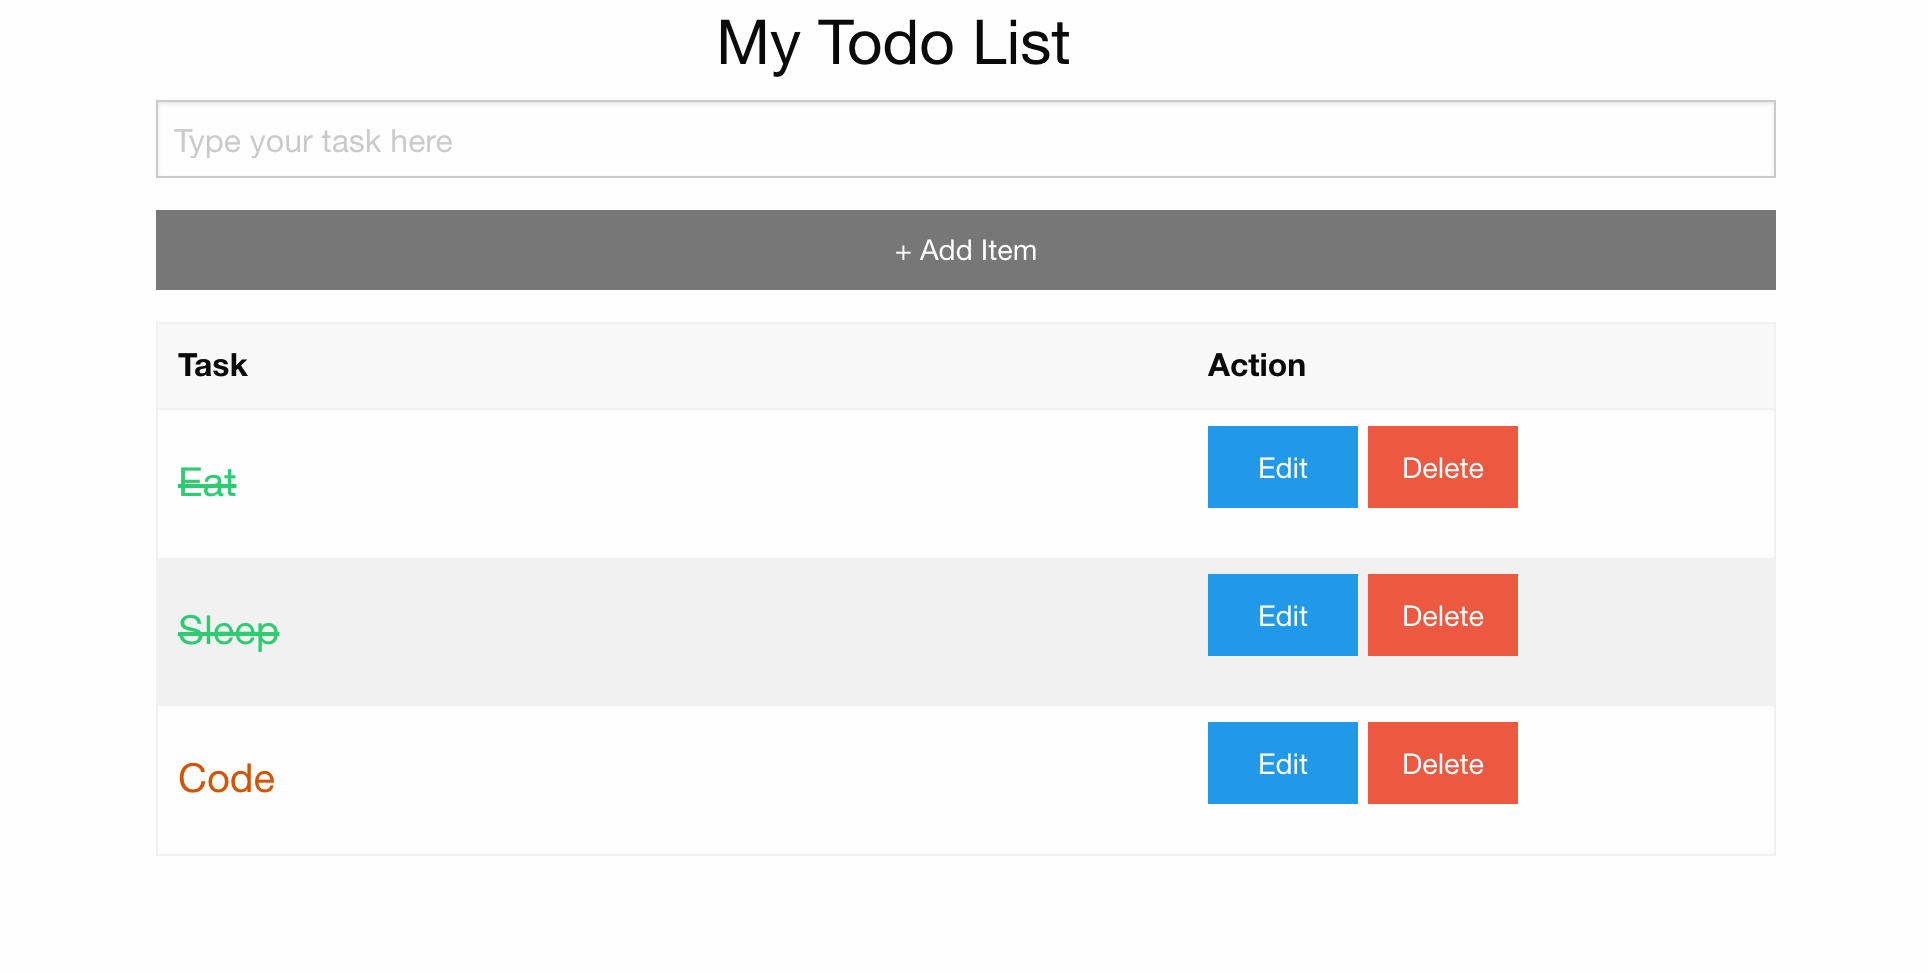
Lambda CRUD operations for a Todo application with live reload
React web application to utilize the API
How to develop and test offline?
We have used serverless-offline plugin and serverless-dynamodb-local plugin in this boilerplate. You can declare your table templates and seeds in api/todo/offline/migrations/ folder just like the todo.json template. When you spin up the offline server, these tables will be used as the datasources for your lambda functions.
Production vs Offline
Thanks to the offline plugin's environment variable IS_OFFLINE we can select between local dynamodb and aws dynamodb.
var dynamodbOfflineOptions = {
        region: "localhost",
        endpoint: "https://localhost:8000"
    },
    isOffline = () => process.env.IS_OFFLINE;
var client = isOffline() ? new AWS.DynamoDB.DocumentClient(dynamodbOfflineOptions) :  new AWS.DynamoDB.DocumentClient();
Make sure AWS credentials are setup properly. Otherwise refer this document
aws configure --profile peter
Add the aws cli profile name and region on to serverless.yml file located at /api/todo/serverless.yml
  ...
  provider:
  name: aws
  runtime: nodejs6.10
  profile: peter
  stage: dev
  region: eu-west-2
  ...
Install serverless globally
npm i -g serverless
Install project dependencies. cd serverless-react-boilerplate and type,
npm install
Install dynamodb local. (Make sure you have Java runtime 6.x or newer)
npm run db-setup
Run the app with the local server
npm run app
Browser will open the todo app at https://localhost:3001
Deploying to AWS
When you are ready to deploy your database and api to AWS, you can create multiple
APIGateways for different service level stages. For example you can create "dev" and "production" stages.
When you deploy to a specific stage, it will create a separate database tables for that stage.
Following command will deploy your lambda functions and APIGateway onto 'prod' stage.
cd api
cd todo
serverless deploy --stage prod
If you want to test your React app with the online API and Database, you may have to change the, BASE_URL of the react app
found in web/src/App.js. Change its value from https://localhost:3000 to your APIGateway uri.
Application Secrets Keys
You can define application secret keys in config.yml file. For example if you need to have a database
connection string and use it in your lambda function, define it as follows.
This will corretly select the DB_STRING corresponding to the defined stage.
You should NOT commit config.yml to your version control system
Deploying react web app
Once you have setup a S3 bucket with static web hosting enabled you can simply build your react app and deploy to that bucket.
Make sure to change BASE_URL to refer your production APIGateway endpoint.
On the root level package.json file add that bucket name and your AWS profile name on the deploy-s3 task. After that run the following command.
npm run deploy-s3
See following vidoes for a step by step guide to create a s3 bucket and configure static web hosting.